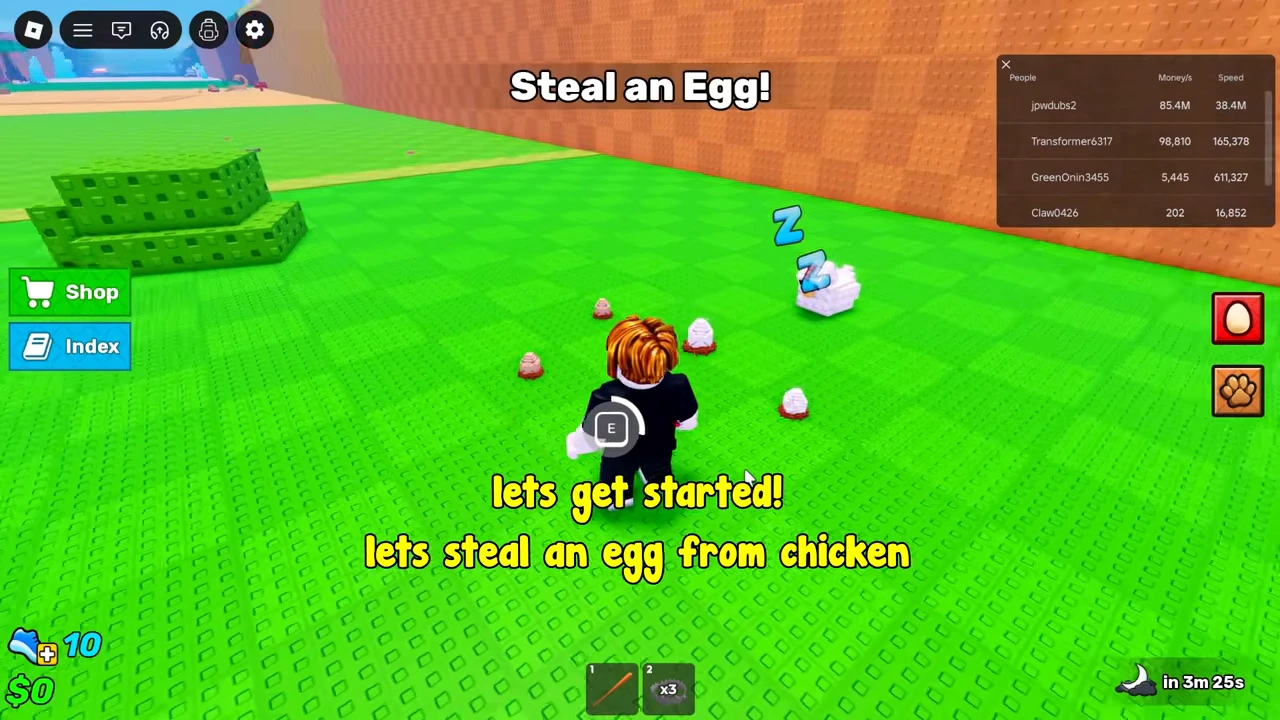
Take a nearby Forest egg
The recorded new-player route starts in Forest, just beyond the marked Safe Zone. Approach an egg near the chicken until its interaction appears. In this PC recording, the pickup uses E with a progress ring; hold the displayed interaction until the pickup completes.
At completion, the interface changes to RUN!! and displays a Drop control. Begin the return immediately. The button refers to the egg you are carrying; it is not the way to place a growing egg in your pen.
This route is observed in footage uploaded August 20, 2026. The game build is not identified. Follow the current prompt on your device; the recording does not establish mobile or controller bindings.
Cross the Safe Zone line and go to your pen
Run back toward the starting pens. In the recording, crossing the boundary changes the instruction from RUN!! to Go to your Pen! and shows the egg in the inventory bar. Continue to the fenced pen indicated by the tutorial arrow.
Inside the pen, select the egg and place it on the ground. A growing egg has its own countdown; the first example reaches Ready before the Hatch prompt is used. Later eggs in the same recording show longer timers. The edited video is not a reliable stopwatch for a universal hatch duration.
- Return across the marked Safe Zone boundary while keeping the egg.
- Follow the tutorial direction to your fenced pen.
- Select the egg and place it inside the pen.
- Wait for the egg label to say Ready before trying to hatch.
Use Hatch, then finish pet placement
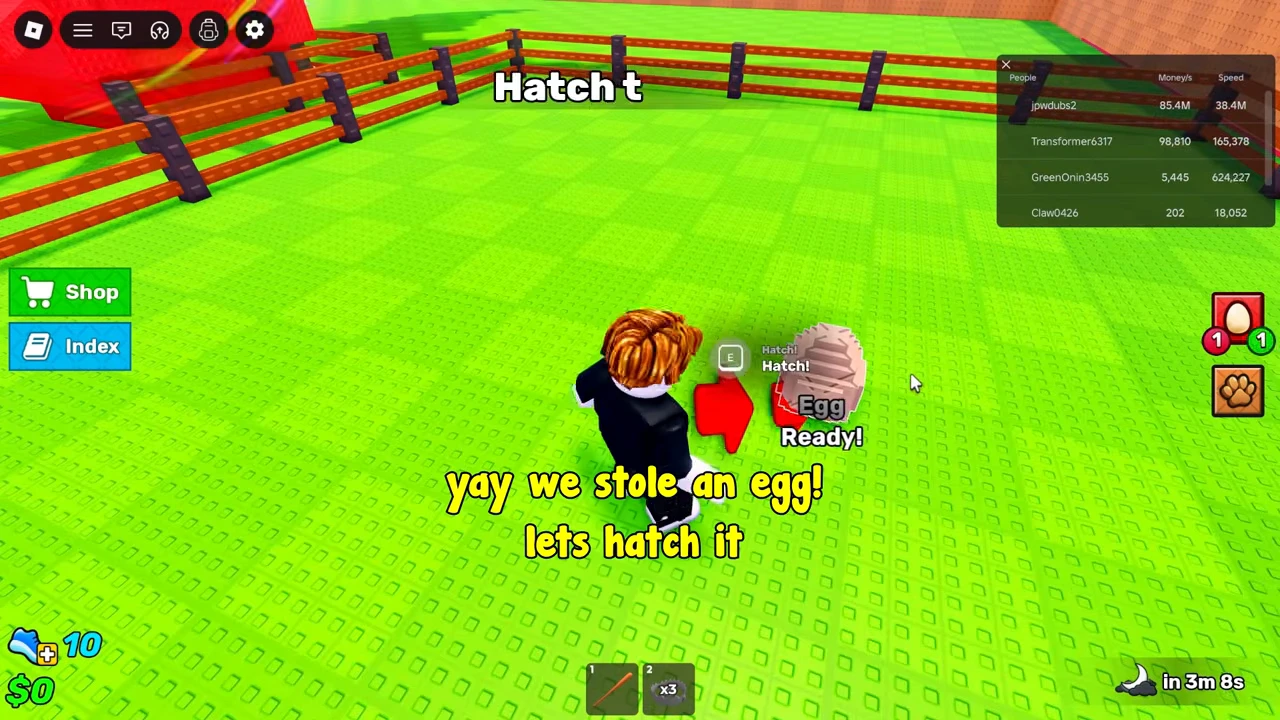
Approach the Ready egg and use the Hatch interaction. The recorded prompt is E. The hatch animation reveals a pet, but the next tutorial instruction still says Place your Pet!: revealing it is not the final placement step.
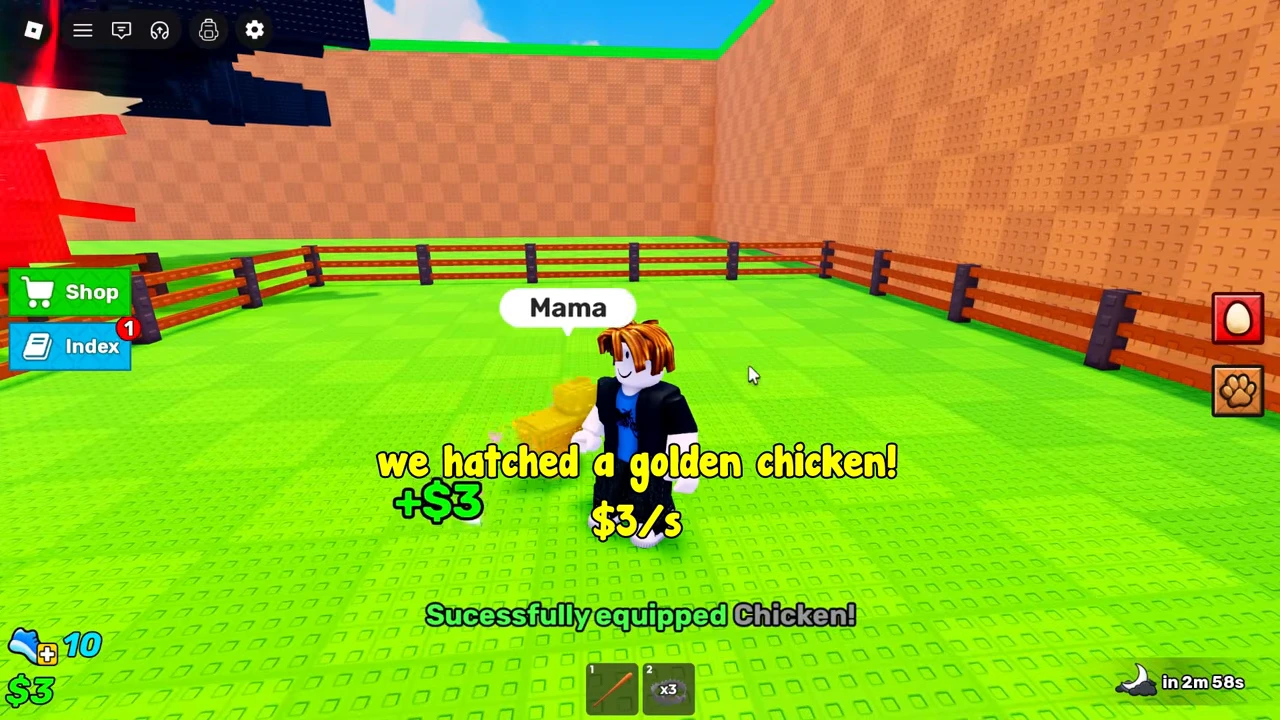
With the pet selected, place it in the pen as prompted. In this example, the game then confirms that Chicken was equipped and displays a cash gain. The footage produces a Golden Chicken; that result and its displayed income are an observed hatch, not a guaranteed reward for every beginner.
Check the result before collecting another egg
The success message and income pop-up confirm that the first pet is active in this recorded route. At that point, return for another manageable Forest egg or start working toward the treadmill unlock. If you only see a Ready egg, finish Hatch; if the pet is still selected for placement, finish Place your Pet!.
For a later full pen, use the active-pet controls rather than assuming a newly revealed pet has replaced an existing one. The linked income guide shows a separate Equip Best sequence when the active count is already full.